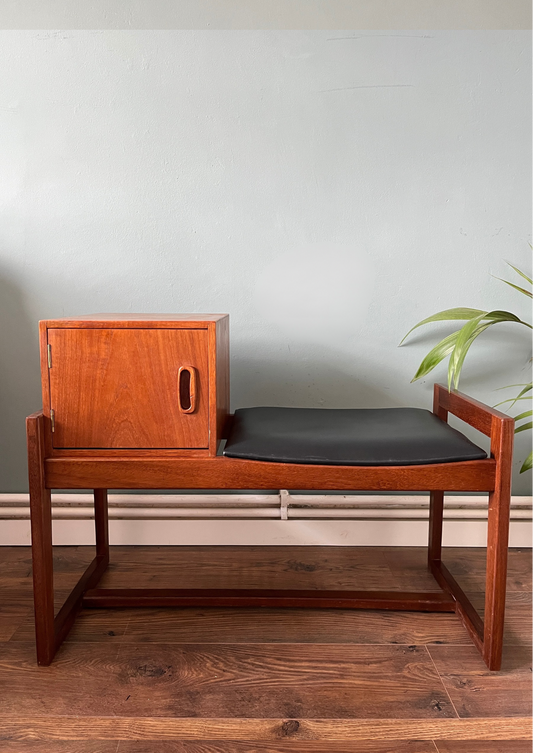
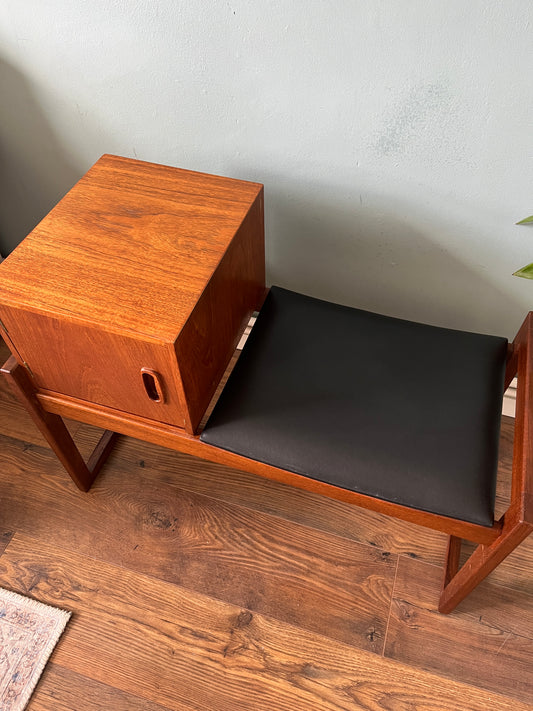
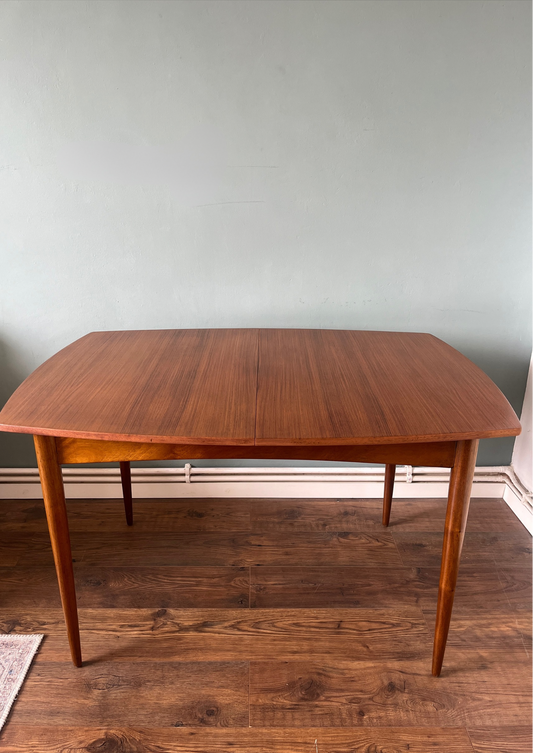
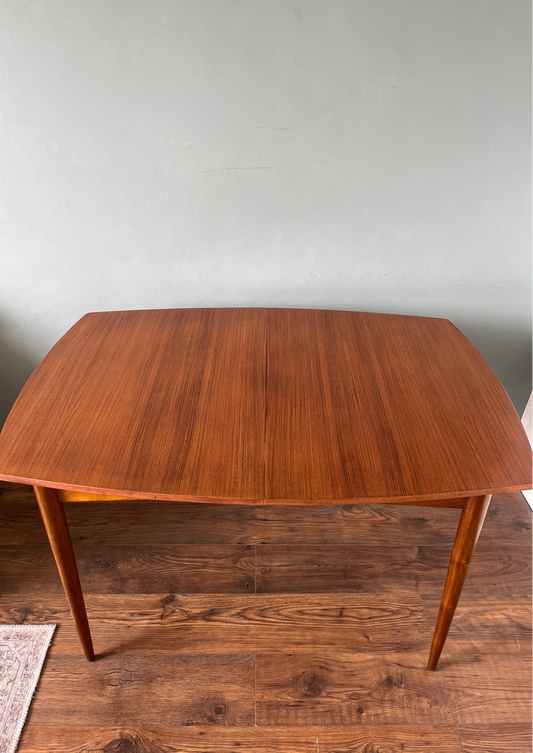
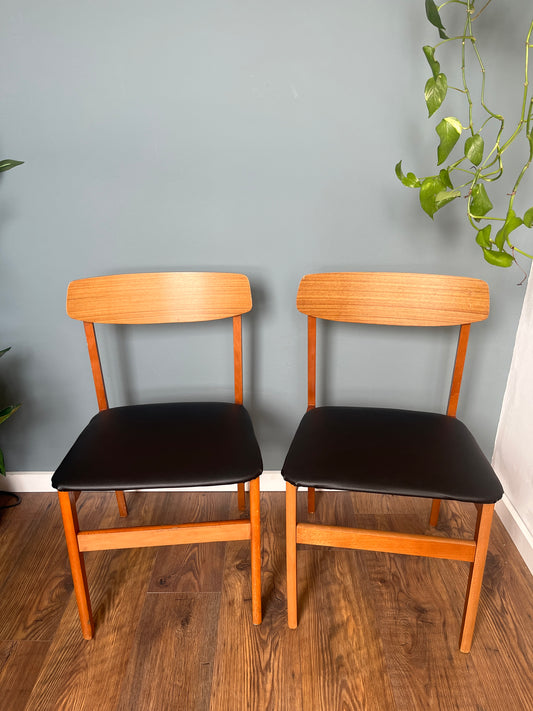
Wall anchors are useful for adding an extra layer of safety, preventing accidents and ensuring stability so that furniture won’t topple forwards. This is essential for households with children or pets.
You can purchase the wall anchor kit we usually use on our pieces here. These instructions are for using this kit.

Step 1
Make sure you have everything you need:
- Wall anchor kit (including screws and wall anchors)
- Power drill
- 6mm drill bit
- Pencil
- Screwdriver
- Measuring tape
Step 2
Identify the ideal location on the furniture where you want to attach the wall anchor. This location should be deeper than the length of the screw you are using and able to support the weight of the furniture. Mark with a pencil where you want the two screws to go.
Step 3
Repeat for the other half in the corresponding position on the wall. Use a measuring tape to accurately determine the distance.
Step 4
Using a power drill and a 6mm drill bit, pre-drill holes at the marked position on the the wall.
Step 5
Insert the wall plugs into the pre-drilled holes on both the furniture and the wall. Gently tap them in using a hammer if necessary.
Step 6
Align one half of the wall anchor with the wall plugs and insert the screws. Use a screwdriver to tighten the screws, ensuring a snug fit.
Step 7
Place the other corresponding half of the wall anchor in the position that you have marked on the furniture and, using a screwdriver, insert the screws.
Step 8
Insert the stainless steel wire rope through both wall anchors and join the ends together using the connector. Twist to tighten.
